Xampp is a open source web server which comes up with handy tools like Apache,Tomcat,Filezilla along with Mysql. These are the following steps to install the Xampp onto your computer or laptop.
It offers you handy tools which provide a developer or beginner an environment to develop and test an application on its Windows system.
In other words, it simply provides a local server environment for developers. It comes with MariaDB, Apache Server for different languages such as Perl and PHP.
Xampp stands for X (cross) cross-platform,Apache server, MariaDB, PHP and Perl
Since, it consists of Mysql, so instead of using command prompt for practising of SQL language its better to use more advance and user friendly tool like Xampp.
Steps to Download And Install Xampp On Windows 10 :
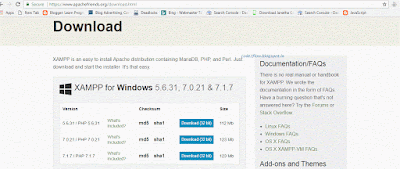
1. First you need to download Xampp from its website ( https://www.apachefriends.org/download.html ) or simply click here and install it. It’s available for both Windows ( except Window XP) as well as OS. You will see the following page.
- Immediately after which you’ll see the “Select Component” modal. On this page, you’ll find various options in form of checkboxes to choose from. However, critical components that are required to run the Xampp would automatically get installed. Now click on Next.
- Later, you’ll see an installation folder page where you have to select a location to install the software.
- Again click on next, Bitnami for Xampp page would be visible, if you are interested in learning more about Bitnami check the checkbox, otherwise, go to the next page.
- Lastly, you will find a ‘ready to Install’ page, clicking on ‘Next’ will start the software installation
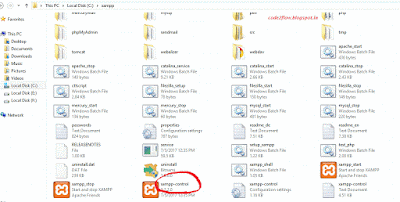
2. After installation, open the Xampp folder which resides within the selected drive. Afterwards click and run the executable file named Xampp control.
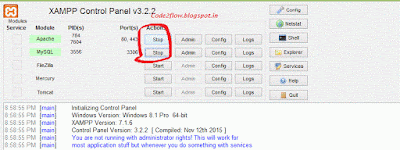
3. After that you see the control panel and start the MySQL and Apache service.
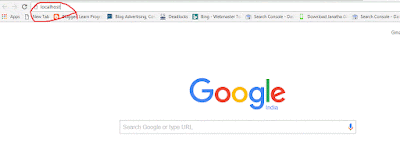
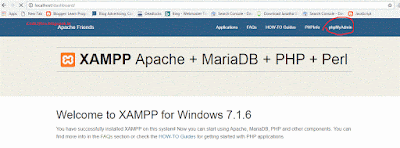
4. Now, go to your browser and type ‘localhost’ in your address bar.
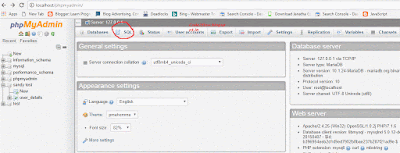
5. You would see the Xampp dashboard and click on ‘phpmyadmin’ that would appear on navigation bar.
6. Now, you are in MySQL where you could work out with queries.

